
Hello there…we have a bit of a Christmas hangover around here, so moving slowly.
I had many questions about the glass etching that the Birdies attempted a few weeks ago, so I thought as I was finishing up Christmas gifts last night (um, yes…the day AFTER Christmas) I would snap some photos and show you how we did our glass etching. And trying to take photos in our house at night just solidified our quest for new lighting…that is on the menu for next week while Daddy is home. Apologies for the not so great photography yet again. Perhaps if I actually crafted in the daytime it would be a nice change, huh?
So for glass etching…it all begins on the computer. Using the software that came with Eva (our Silhouette machine) I design what we want etched.
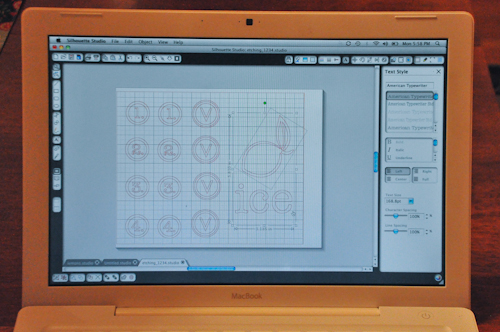
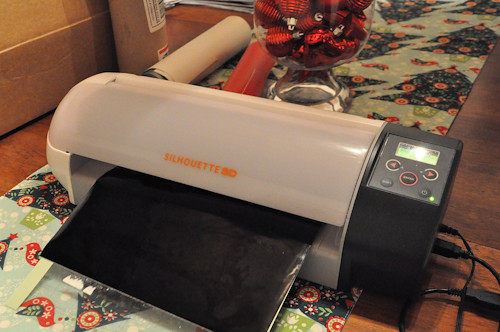
And then we plug in Eva and let her do her magic. Cut out the designs on adhesive vinyl, by the way – this is a good way to use up any scraps of vinyl you have, although I did a lot of etching last night so I stacked all my designs into one sheet.
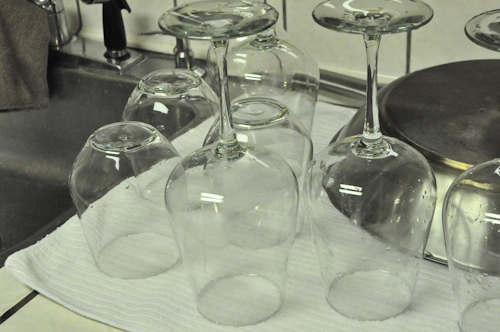
While your vinyl is cutting out, wash and dry your glassware. It is really important to not get any oils from your fingers where you want to etch, the etching cream doesn’t stick to the glass if it is dirty.
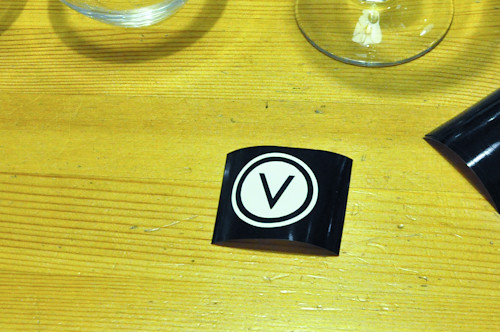
When your vinyl is cut and glassware is clean, you start “weeding” out the design. You essentially want to remove the vinyl anywhere you want etched. It is very handy to have a dental pick for this step.
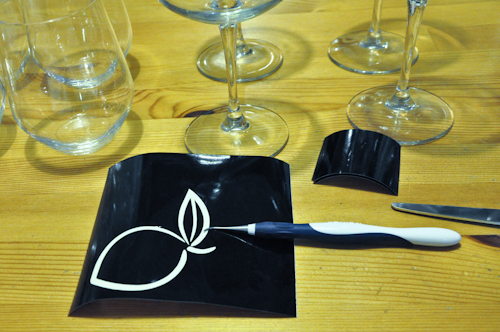
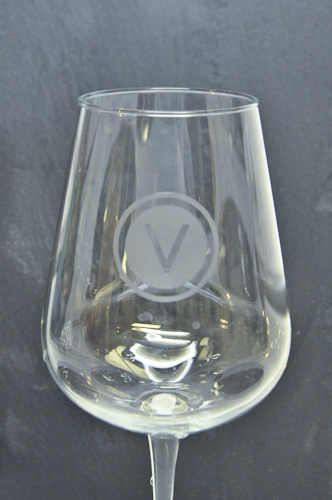
In this one – the black parts are where the glass will be protected, and the white parts will be etched. I wanted the “V” to be glass, but an etched circle around it, and another etched, larger ring around the circle.
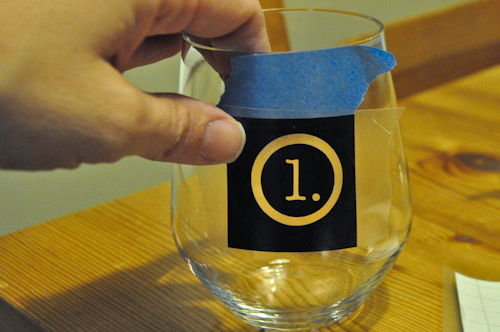
Once you have your designs weeded, you’ll need to use transfer tape, which is clear tape you put over the top of the design that allows you to transfer your design to the glass. We used painter’s tape as a guide so that all of our designs on the wineglass set would be even. Putting a piece of tape at the rim of the glass, I then lined the top of my ring up with the bottom of the piece of tape. It is a sort of inexact measurement, but it works.
While you still have the transfer tape on the glass, (remember no fingers on the glass!) rub down the design really well. I mean, REALLY WELL. Especially around the edges, using something like a credit card, make sure the edges are really adhered otherwise you will have some bleeding from the design. Carefully peel off the transfer tape, and then you are ready to etch.
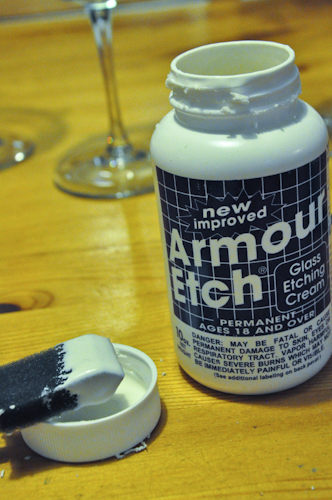
This is the etching cream we have been using. It is kinda toxic and has a million warnings all over it, it is essentially acid that eats glass, so yeah…be careful with it.
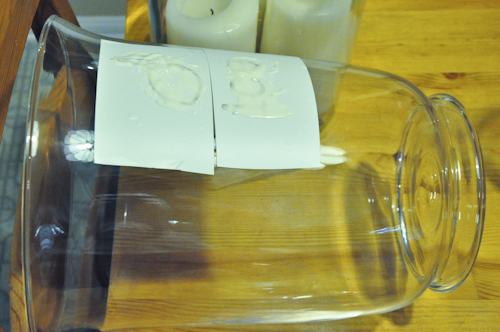
I also like to surround my edges of adhesive with painter’s tape too…just to be safe since I’m a little bit of a sloppy painter. Apply a nice, even sort of thick application to the open vinyl areas.

If you can lie your piece down, it helps with the running of the cream. This obviously isn’t always ideal since glasses are round and like to roll, but if you can prop it up like so, it definitely helps.
Let the cream sit for 10-15 minutes and then wash off with warm water. For stronger glass you might want to leave it on longer, I left it on some glass ornaments I did for 30 minutes and it still didn’t etch as well as the wineglasses did. You might need to experiment…get extra glasses!
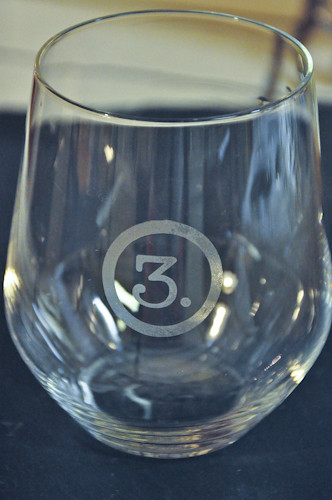
And…voila! Handmade, personalized gifts that you’ll want to keep yourself!
(This one is for our friends who make amazing lemon drops!)

Let me know if you try to etch some glass! We’d love to see your creations, too!
Thanks for the tutorial. I love them all. I hope you guys had a Merry Christmas.
That was really cool to see how it’s done! Haven’t got anything myself this week…but I’m binding my quilt so, who knows….next week??? 🙂
I tried to do some glass etching a few months ago, but I couldn’t get it dark enough. I wonder if maybe I didn’t use enough etching cream though…guess I will have to try again.
And — in case you run out of vinyl — contact paper works well for etching, you can cut it the same way as the vinyl and it’s a bit cheaper.
Love the wine glasses!